The Activation Ticket Resolution screens provide tools for managing and resolving activation tickets efficiently. Users can generate detailed reports, track ticket statuses, analyze resolution times, and export data for record-keeping, ensuring effective handling of activation-related issues for school groups.
To use the Activation Ticket Resolution screen:
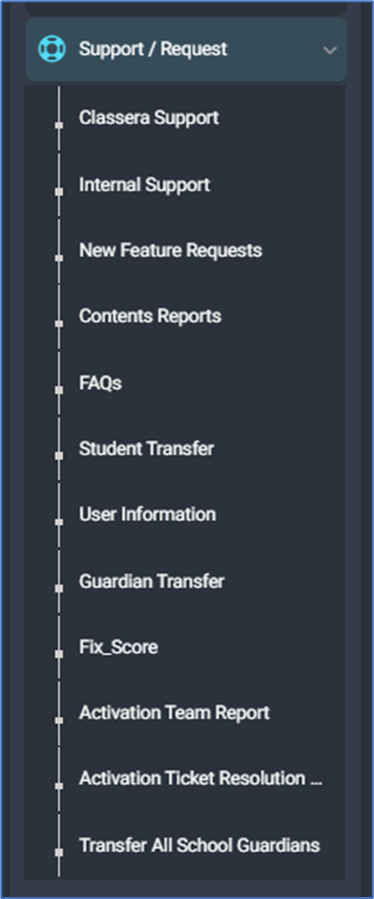
- From the main menu, click the Support/Request button and select Activation Ticket Resolution.
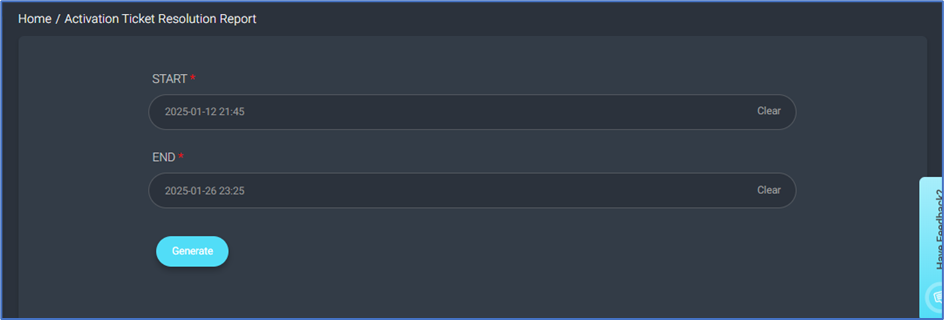
- Enter the start date and time in the START field to define the beginning of the report’s time range.
- Enter the end date and time in the END field to define the end of the report’s time range.
- Use the Clear button next to each field if you need to reset the dates and times.
- Click the Generate button to create the activation ticket resolution report for the specified time range.
After clicking the Generate button:
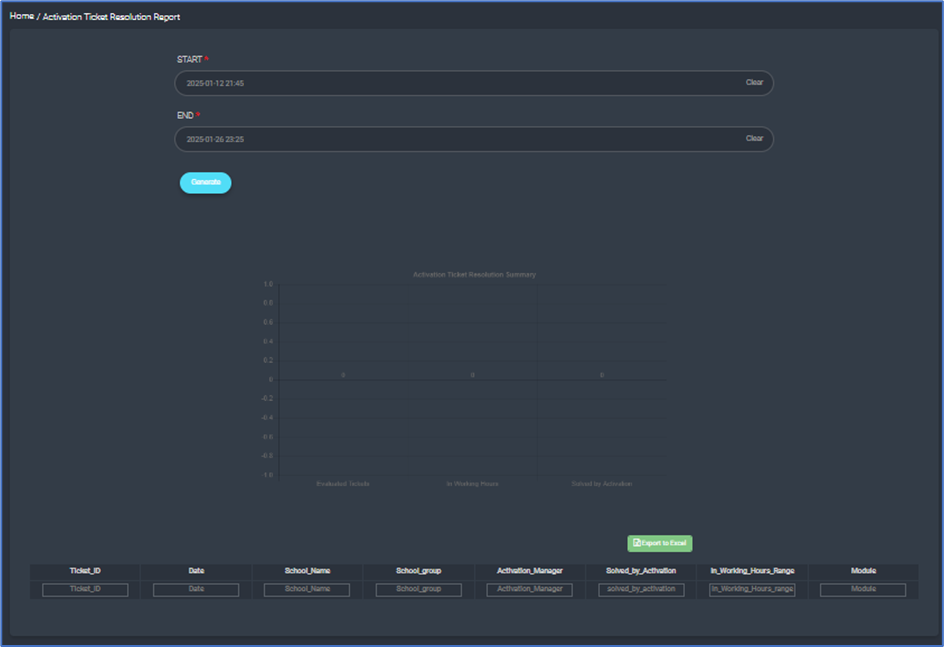
- Review the Activation Ticket Resolution Summary chart displayed on the screen to analyze the overall resolution data visually, such as the number of evaluated tickets and those resolved within working hours.
- Scroll down to view the detailed table containing ticket-specific information, including Ticket ID, Date, School Name, School Group, Activation Manager, and resolution details.
- If needed, click the Export to Excel button to download the detailed report for documentation or further analysis.