The Students Requests screens are designed to manage and process various student-related requests efficiently. Administrators can review parent-submitted requests, monitor request logs, and handle student checkouts through a user-friendly interface that includes filtering, searching, and real-time processing tools.
To use the Students Requests screen Follow up this steps:
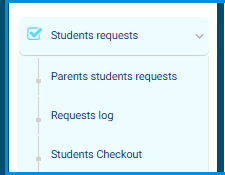
- From the main menu, click the Students Requests button.
- Click Parents Students Requests to review and manage requests submitted by parents regarding students.
- Select Requests Log to view the history of all submitted and processed requests.
- Use Students Checkout to manage the checkout process for students, including approvals and documentation.
To use the Parents Students Requests screen Follow this steps:
- From the main menu, click the Students Requests button and select Parents Students Requests.
- Select a school from the Select School dropdown menu to filter requests based on the chosen institution.
- Choose a level from the Select Level dropdown to narrow down the requests to a specific grade or educational stage.
- Click the Back button to return to the previous screen if needed.

To use the Today’s Students Requests screen Follow this steps:
- From the main menu, click the Students Requests button and select Parents Students Requests.
- Click Today’s Requests to view a list of all student requests submitted on the current day.
- Monitor the requests displayed to take appropriate actions as needed.
- If no requests are shown, wait for updates or navigate to Parents Students Requests for additional requests.

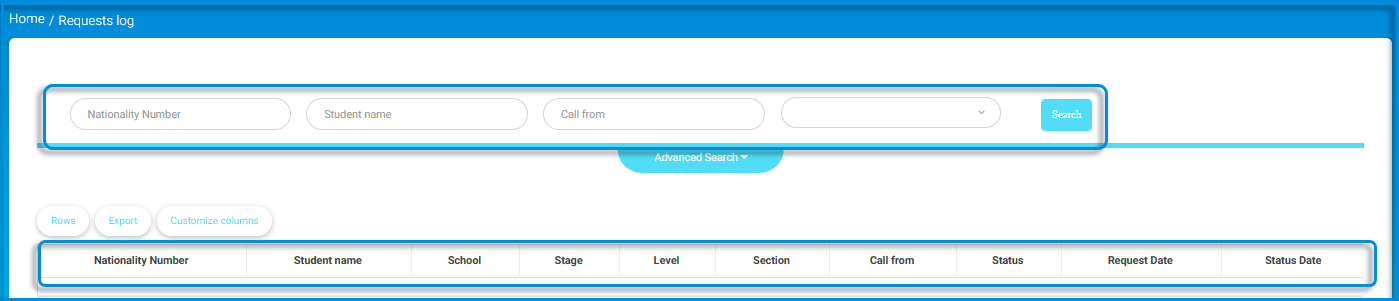
To use the Requests Log screen Follow this steps:
- From the main menu, click the Students Requests button and select Requests Log.
- Enter the Nationality Number, Student Name, or Call From field to filter requests based on specific criteria.
- Click the Search button to display results that match the entered criteria.
- Use the Advanced Search dropdown to refine the search further with additional filters.
- Adjust the number of displayed records using the Rows button.
- Click Export to download the request logs for reporting or record-keeping purposes.
- Use the Customize Columns button to display specific columns in the table, such as school, level, status, or request date.
To use the Students Checkout screen Follow this steps:
- From the main menu, click the Students Requests button and select Students Checkout.
- Use the Switch Camera button to toggle between available cameras to ensure the correct one is selected.
- Position the student within the dashed box area displayed on the screen for identification or scanning purposes.
- Follow on-screen instructions (if any) to complete the checkout process.


