Table of Contents
After you add stages with levels and sections, teachers, and courses, you can assign each teacher to levels, courses, and sections.
The system allows you to add bulk lectures at once to the platform through the system administrator’s account.
To use this screen efficiently, do as follows:
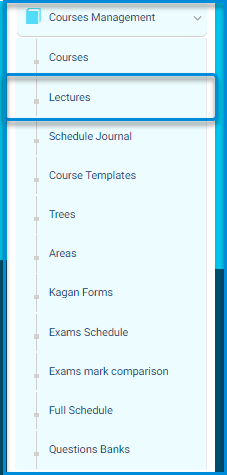
- Expand the Courses Management dropdown from the system’s main menu and click Lectures.
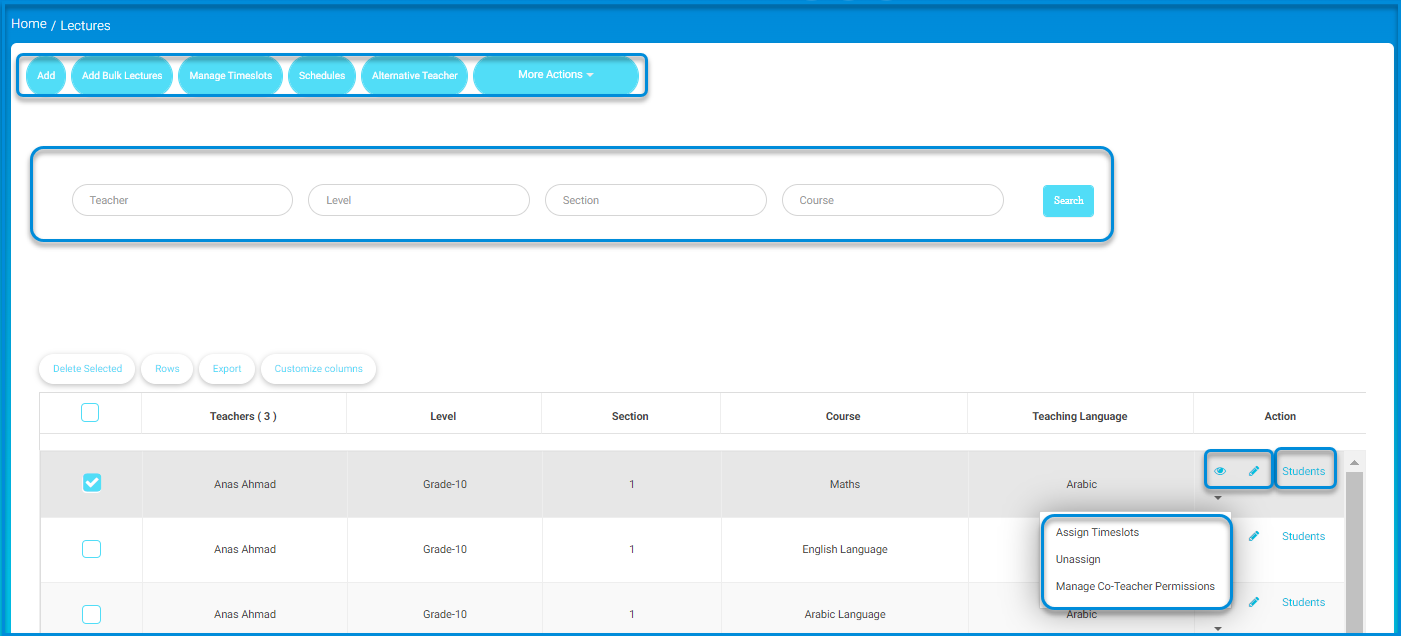
- The lectures screen contains different tabs (Add – Add Bulk lectures – Manage Timeslots – Schedules – Alternative Teacher – Other Actions).
- The main lectures screen also includes a search engine specifically for sessions on the platform using various methods such as teacher, level, and a course.
- Click on the Add Bulk Lectures button.
- The system moves to the main screen for adding bulk lectures at once.
- Fill in the fields listed in the table.
- Select the teacher for the subject.
- Select the grade level.
- Select the course, then the sections and teacher for the course.
- Choose the teaching language.
- Add the educational supervisor and teacher for the subject.
Note: You can click on the Add New Lecture button to include it in the session table. - Click the Save All Lectures button. A message will appear indicating that the lectures have been added successfully.
Editing or Modifying Lectures #
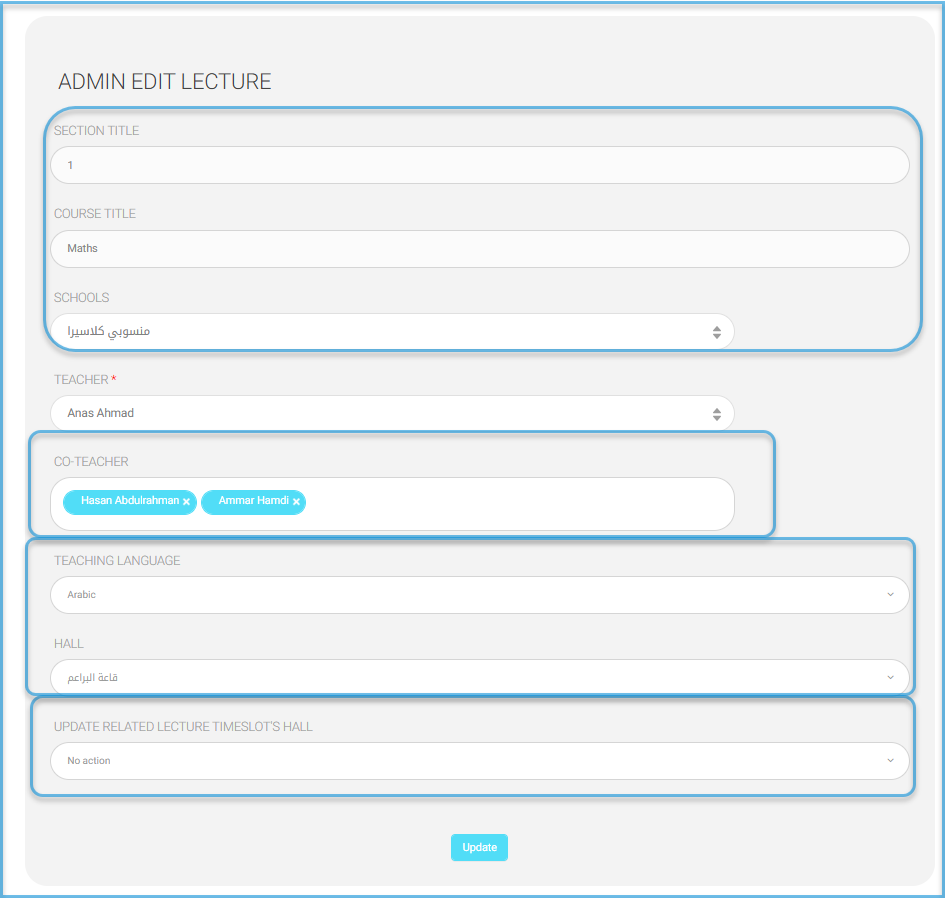
From the Actions column, click the Edit icon to open the Admin Edit Lecture screen. Here, you can modify the section, timeslot, add co-teachers, etc.
- Enter or modify the Section Title field to specify the section for the lecture.
- Use the Course Title field to verify or edit the name of the course associated with the lecture.
- Select the relevant school from the Schools dropdown menu.
- Assign the primary teacher by selecting their name from the Teacher dropdown. This field is mandatory.
- Add co-teachers by selecting their names from the Co-Teacher field. Multiple names can be added as needed.
- Specify the Teaching Language for the lecture by selecting an option from the drop-down menu.
- Assign the lecture’s location by choosing a hall from the Hall dropdown menu.
- Use the Update Related Lecture Timeslot’s Hall dropdown to specify whether changes to the hall should apply to related timeslots.
- Click the Update button to save the changes.
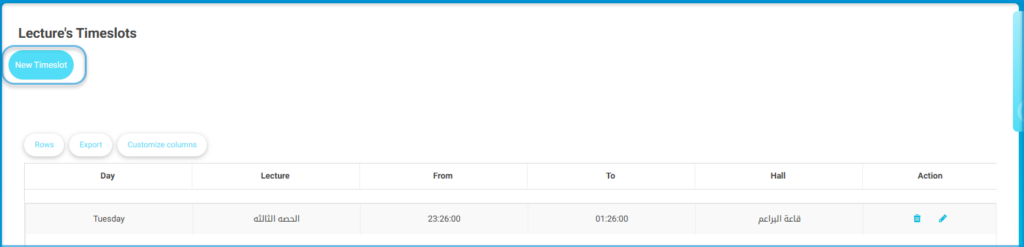
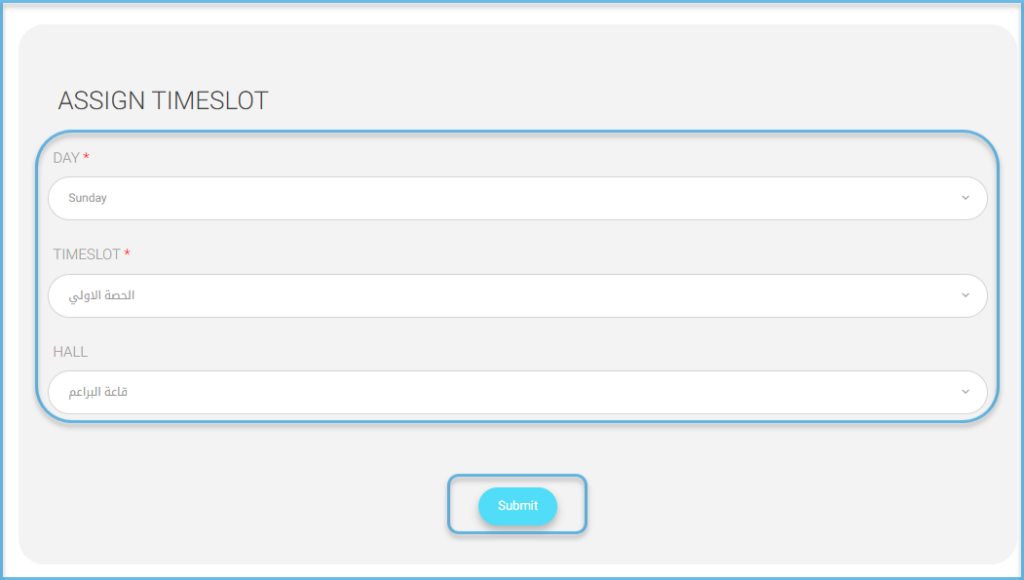
Assigning Timeslots #
- Click the Edit icon next to the lecture you want to process to open the Actions drop-down menu.
- Click Assign Timeslots to allocate specific times for the lecture or activity and specify the hall.
3. Click Unassign to remove previously assigned timeslots from the lecture or activity.
4. Click Manage Co-Teacher Permissions to configure or adjust the permissions for co-teachers associated with the lecture.

Read More
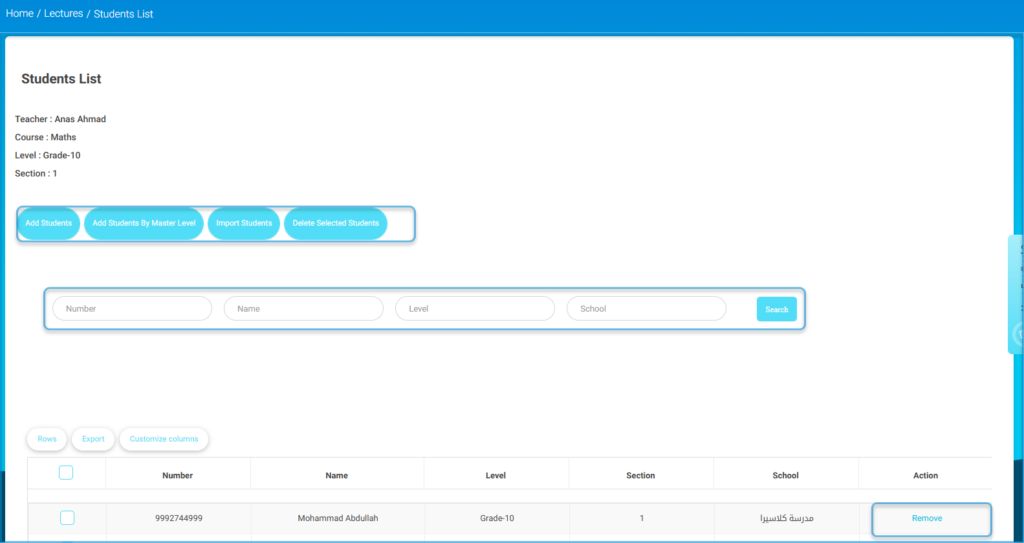
Lectures – Students List – | User Manuals: Lectures


