The Forms screen provides you with the functionality for managing and exporting forms.

- Click the Forms Added by Me button to filter or view forms that you have added.
- Review the list of forms displayed in the table, which includes columns for Title, Close Date, and Actions.
- If you want to export the list, click the Export to Excel button to download the data as an Excel file.
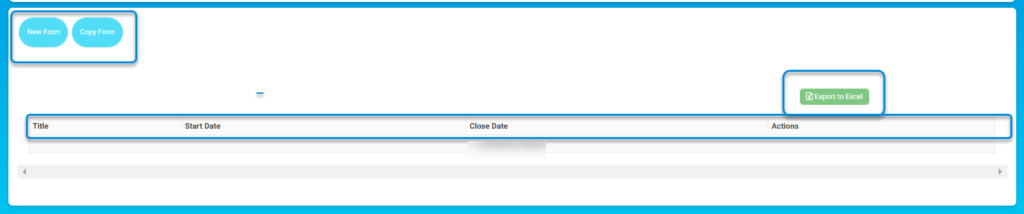
- Click the New Form button to create a new form.
- Click the Copy Form button to duplicate an existing form.
- Review the list of forms displayed in the table, which includes columns for Title, Start Date, Close Date, and Actions.
- Click the Export to Excel button to download the list of forms as an Excel file.
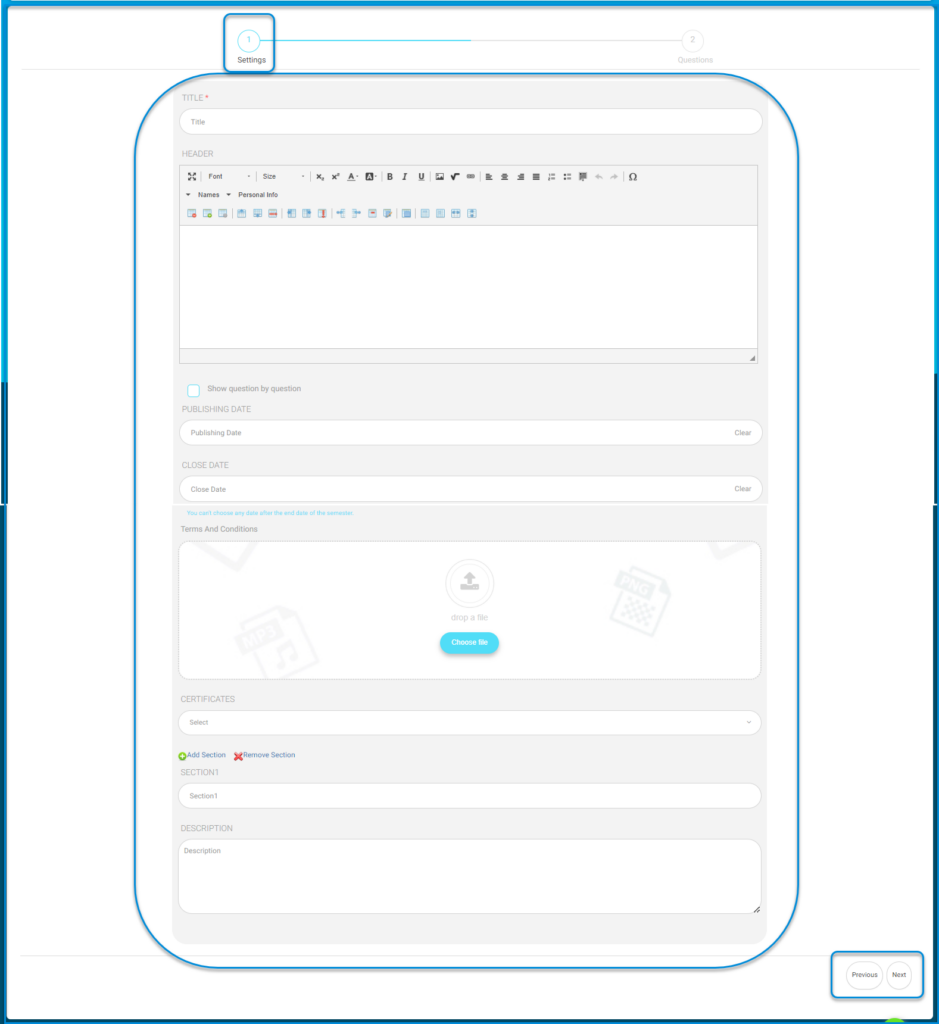
- Enter the Title of the form in the provided field.
- Fill out the Header section using the text editor.
- Check the Show calendar to the user option if needed.
- Set the Opening Date by clicking the field and selecting a date.
- Set the Close Date by clicking the field and selecting a date.
- Upload a Terms and Conditions document using the Choose File button.
- Select the Department from the dropdown menu.
- Choose the Visibility option: Public or Private.
- Enter any additional Description in the text box.
- Click the Save button to save the form.
- Use the Preview button to review the form before finalizing it.


