Table of Contents
Sync Employees with ERP #
The system allows you to add specializations or job positions for users through the Human Resources system on the main platform, using the system administrator’s account. Follow the coming steps:
- Log in through the main login page to the system administrator’s account.
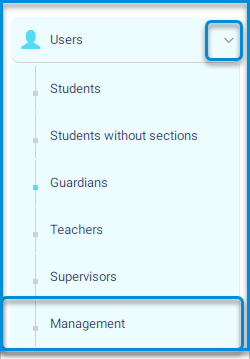
- Click on the user’s drop-down menu from the sidebar.
- Click on the management button to navigate to the user management screen and its contents.
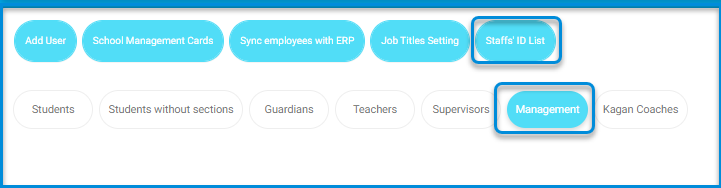
- The system moves to the management homepage, containing various tabs:
- Add user.
- Sync employees with ERP.
- Job title settings.
- Staff’s ID List.
- It contains a user data table and their search engines, searchable by ID number, username, or login name.
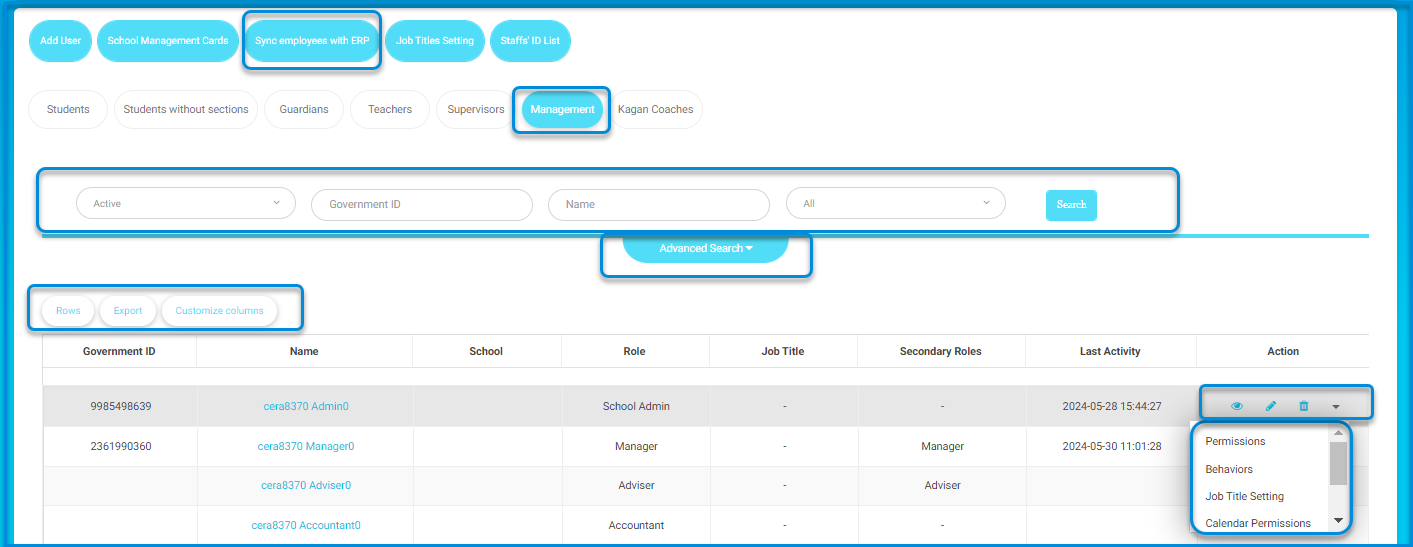
- Click on the sync employees with the ERP button to confirm the synchronization process.
- A message confirming the synchronization with the ERP system will appear.
Roles Job Titles #
- Click on the job title settings button.
- The system navigates to the job title changes screen.
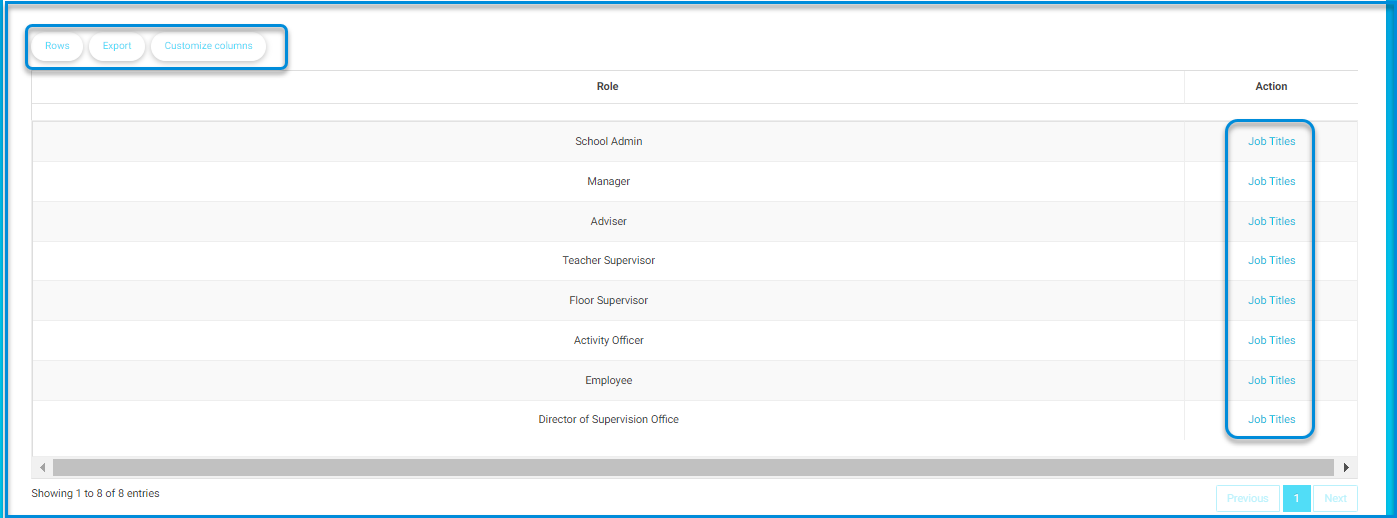
- Click on the job title button next to the job title you want to change.
- The other job title is selected based on the permissions available to the user.
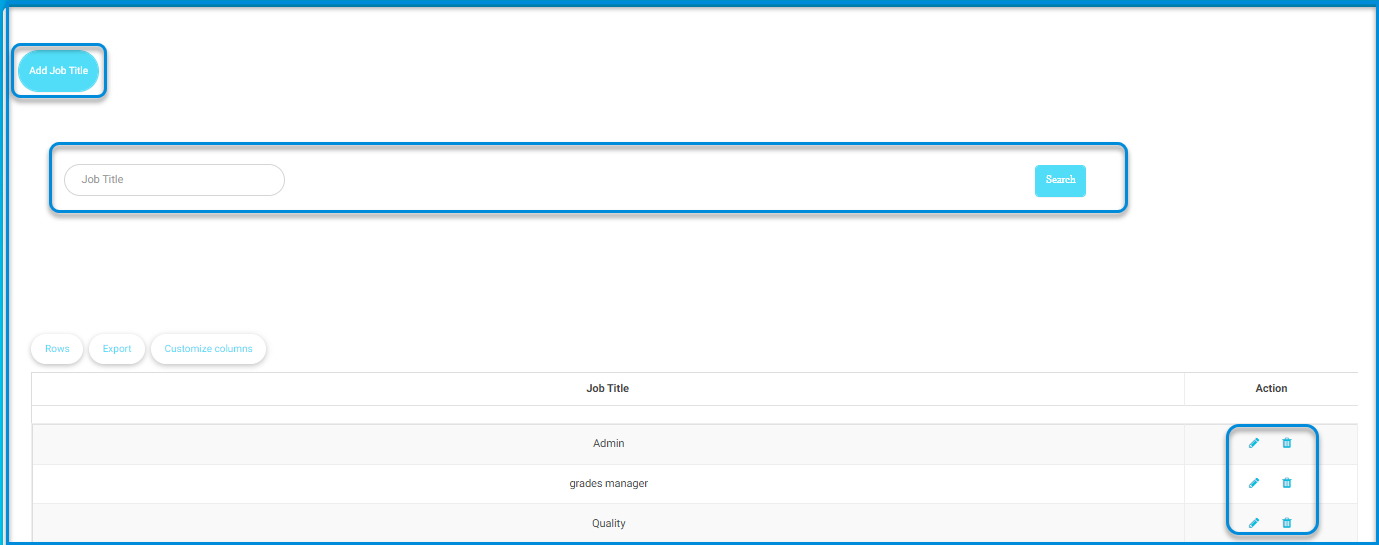
Note: You can add a job title specific to the user according to the country or job from the Add Job Title button.
Staffs’ Cards #
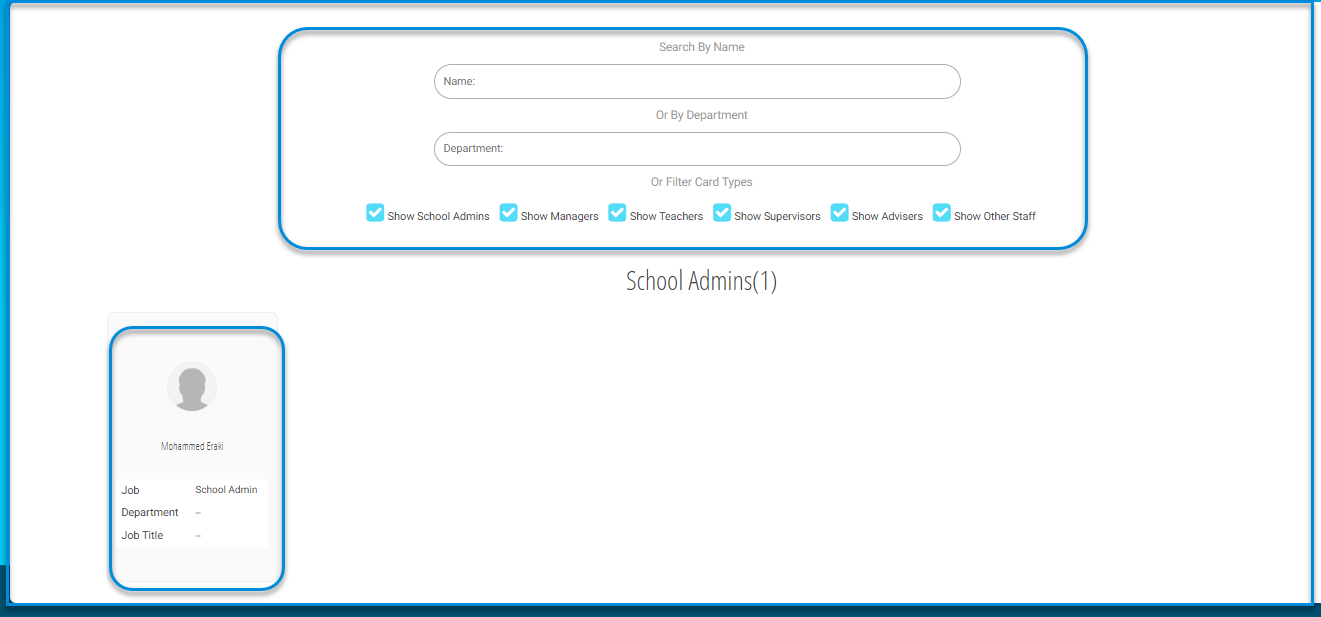
- Click on the Staff’s ID List button from the main management screen.
- The system moves to a screen containing IDs for administrative users on the platform, such as system administrators, school administrators, teachers, etc., and you can search by username or department through the search engines.
Administrative user settings in the ERP system: #
- Return to the main administration screen containing a table of administrative user data.
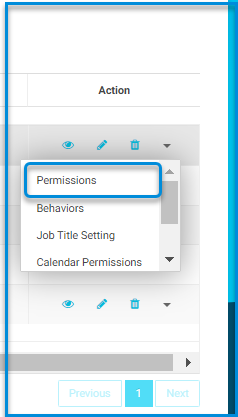
- Click on the drop-down menu for each user containing some settings:
- Permissions.
- Behavior.
- Calendar Permission.
- Job title settings.
- Linked accounts.
- Account Changed Log.
- Click on the permissions button to be assigned to the user next to the main job.
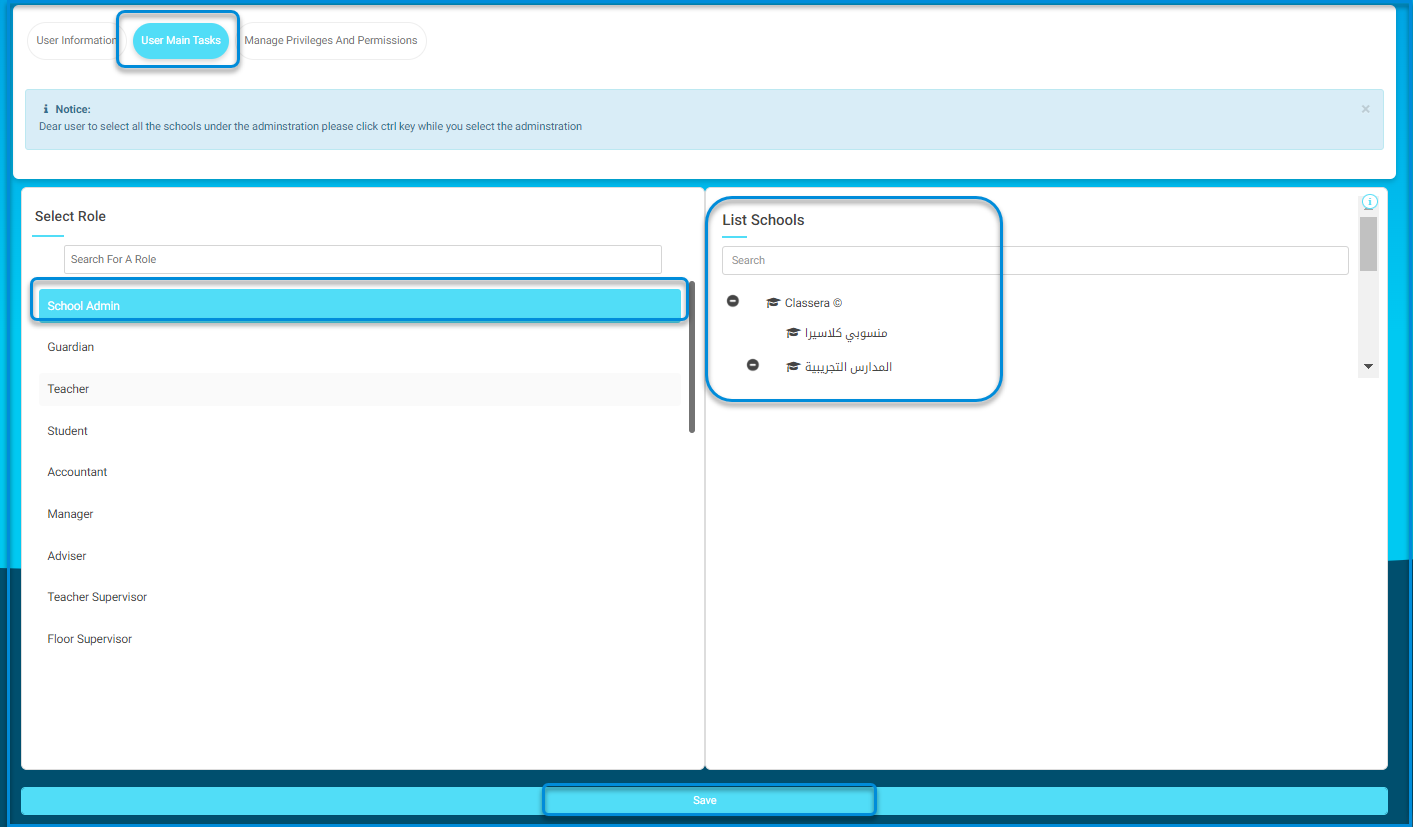
Note: To select all the schools under the administration, please click the Ctrl key while you select the administration.


